-
Product Management
Software Testing
Technology Consulting
-
Multi-Vendor Marketplace
Online StoreCreate an online store with unique design and features at minimal cost using our MarketAge solutionCustom MarketplaceGet a unique, scalable, and cost-effective online marketplace with minimum time to marketTelemedicine SoftwareGet a cost-efficient, HIPAA-compliant telemedicine solution tailored to your facility's requirementsChat AppGet a customizable chat solution to connect users across multiple apps and platformsCustom Booking SystemImprove your business operations and expand to new markets with our appointment booking solutionVideo ConferencingAdjust our video conferencing solution for your business needsFor EnterpriseScale, automate, and improve business processes in your enterprise with our custom software solutionsFor StartupsTurn your startup ideas into viable, value-driven, and commercially successful software solutions -
-
- Case Studies
- Blog
Simple ARKit 2 Tutorial on How to Build an App with Face Tracking
In a previous article, we talked about what ARKit is and showed you how to create and manage virtual objects. However, this technology is so popular that it’s developing with giant strides. It’s already been updated several times since our last review. We’ve decided to tell you about these updates and enhance our knowledge of ARKit by implementing a face tracking feature.
Let’s start with the updates and enhancements to ARKit since we discussed it last lime.
ARKit feature chronology
Below, you can see features in ARKit versions:
Version 1.0
- Track movements of the device in space
- Measure the intensity and temperature of light
- Measure data about horizontal surfaces
Version 1.5
- Better image quality
- Ability to find vertical surfaces
- Recognition of static 2D images and autofocus
Version 2.0
- Save and recover AR cards
- Multiuser augmented reality
- Reflections of the environment
- Tracking of moving 2D images
- Tracking of static 3D objects
- Face tracking (determine light direction, tongue and eye tracking)
General improvements in version 2.0
- Faster initialization and surface determination
- Improved accuracy of boundary and surface determination when surfaces expand
- Support for 4:3 aspect ratio (now selected by default)
The new and improved version of ARKit is a much more powerful tool that allows us to build a lot of AR features without a hitch. Let’s check it out with an example.
The task
In this tutorial, we’ll build a simple app with a face tracking feature using ARKit 2.0. But first, let’s shed some light on theoretical points you need to know.
What is the AR face tracking configuration?
The AR face tracking configuration tracks movement and expressions of a user’s face with the help of the TrueDepth camera.
The face tracking configuration uses the front-facing camera to detect a user’s face. When the configuration is run, an AR session detects the user’s face and adds an ARFaceAnchor object that represents the face to the anchors list. You can read more about ARFaceAnchor here.
The face anchor stores information about the position of a face, its orientation, its topology, and features that describe facial expressions.
If you want to know more about face tracking configuration, you can find information in the official Apple documentation.
Prerequisites
Requirements:
- An iOS device with a front-facing TrueDepth camera:
- iPhone X, iPhone XS, iPhone XS Max, or iPhone XR
- iPad Pro (11-inch) or iPad Pro (12.9-inch, 3rd generation)
- iOS 11.0 or later
- Xcode 10.0 or later
ARKit is not available in iOS Simulator.
Step-by-step tutorial
Now it’s time to practice. Let’s create our app with a face tracking feature.
Step 1. Add a scene view
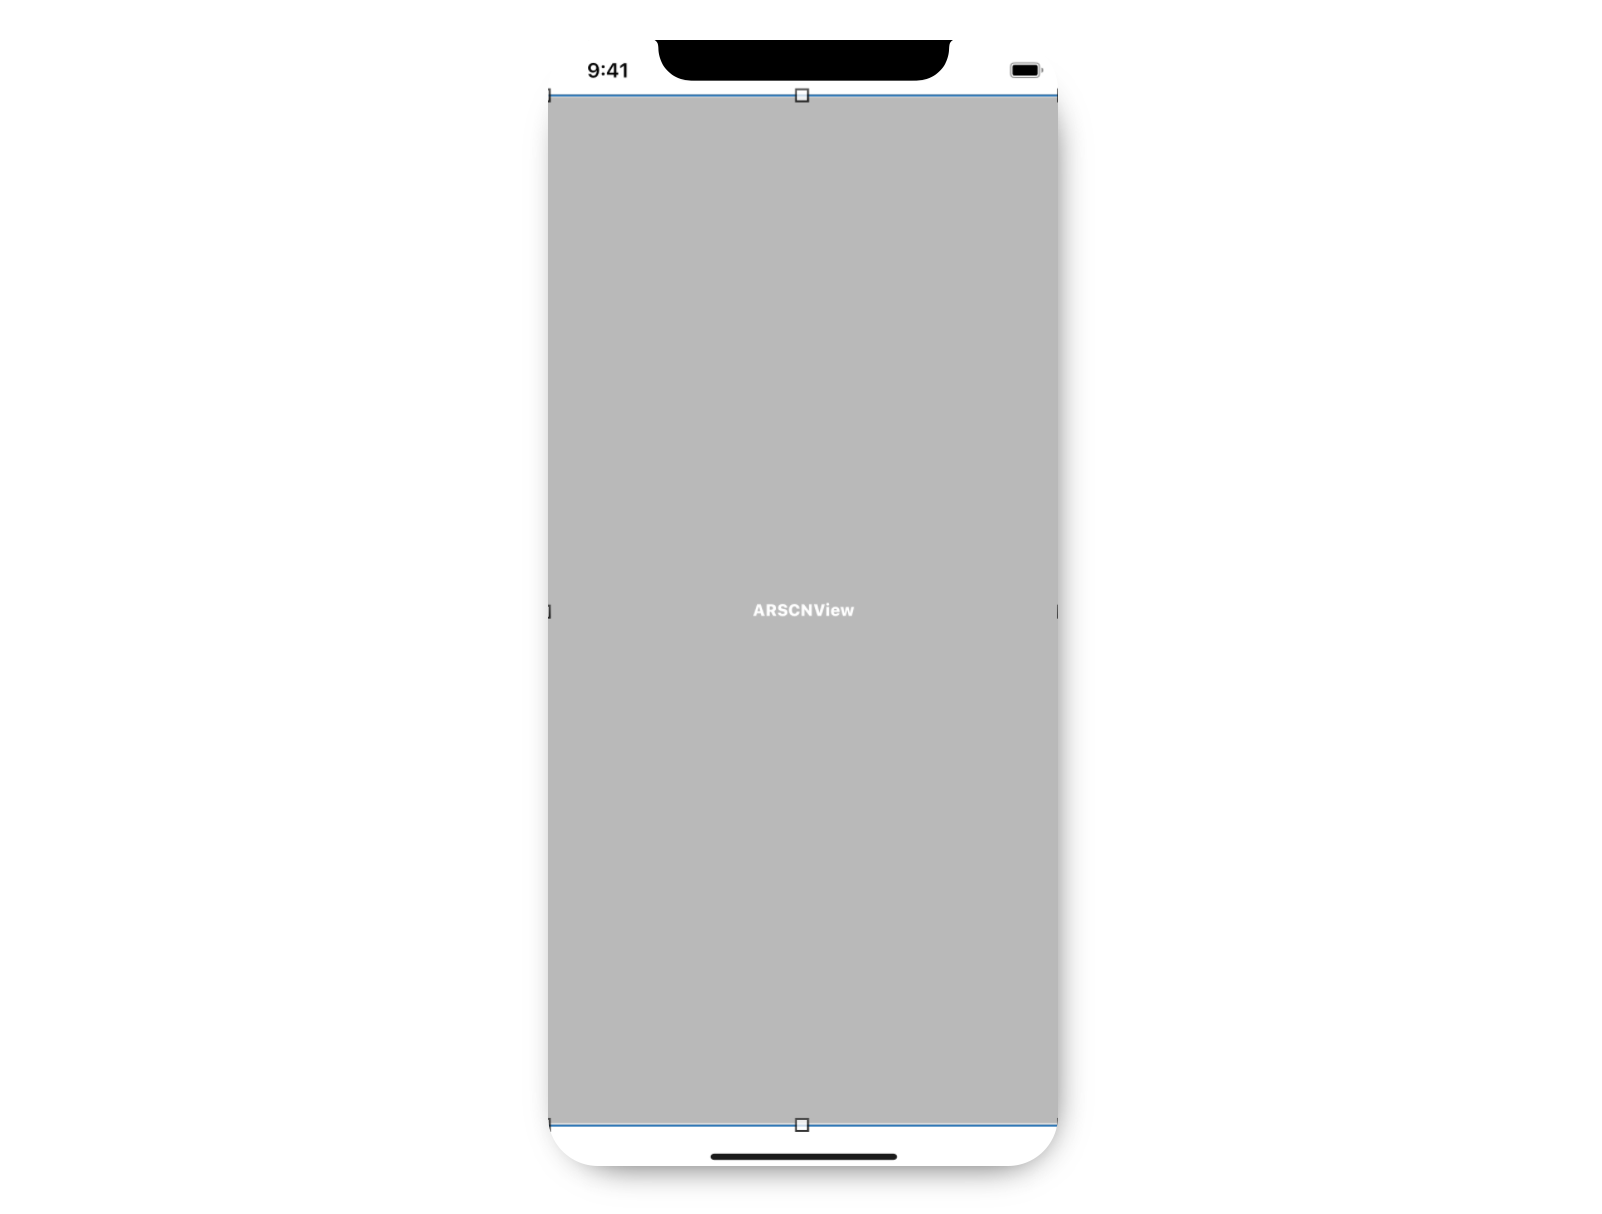
Create a project, open the storyboard and choose ARKit SceneKit View. Add constraints.

Now we need to set up an AR session. For that, we’ll create an outlet for ARKit SceneKit View. Then we’ll import ARKit. Next, we need to check if the device supports face tracking.
After that, we configure the session. We’ll put this code in the viewWillAppear method:
Don’t forget to pause the session when it’s not needed to save battery:
Now if we run the app, we’ll see an exception with the message “This app has crashed because it attempted to access privacy-sensitive data without a usage description.”
This means we need to add a description to ask for permission. To fix this crash, we put the message “The app wants to use the camera” in the Info.plist file with the key “Privacy - Camera Usage Description.”
Now our session works. We can run the app and see it.
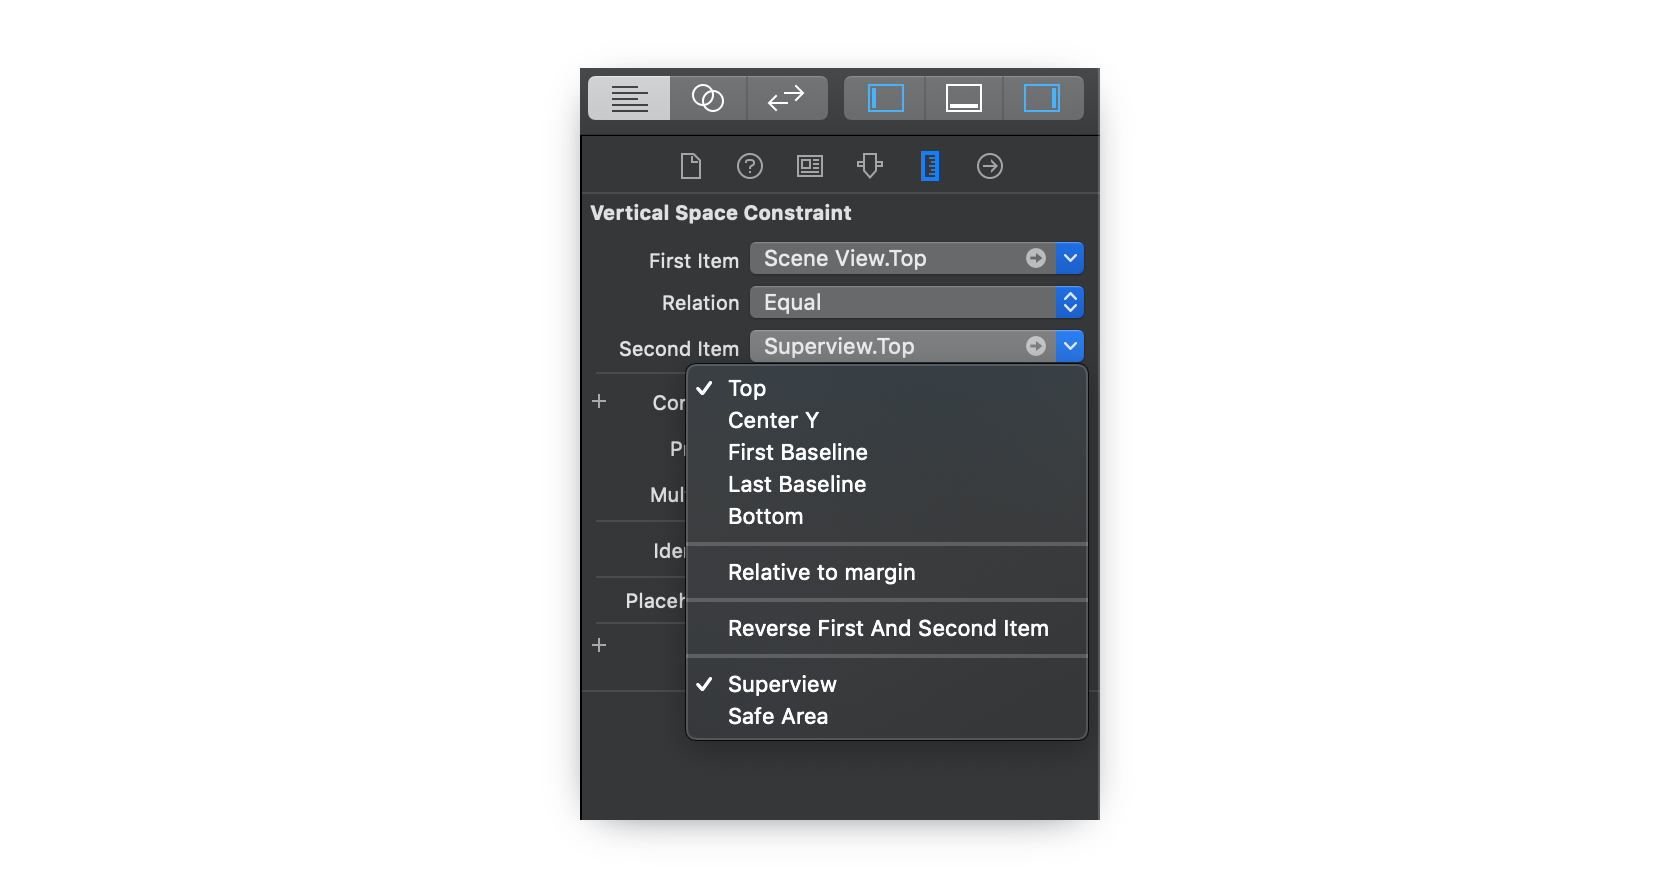
For full-screen mode, we recommend connecting the top and bottom constraints to superview instead of a safe area.

Step 2. Add face tracking
To add face tracking, we need to implement the following ARSCNViewDelegate method:
Don’t forget to set a scene view delegate:
At this point, when you run the app, you’ll see a white-lined mask over your face. Looks good, but nothing happens when you open your mouth or close your eyes.
To fix it, we need to implement the didUpdate node method:
Now the mask has eye and mouth animations.
Step 3. Add glasses
One way to implement this feature is to add a child node to the face mask. First, we need to create an object of the SCNPlane class that will define the geometry for glasses.
After that, we need to create a SCNNode object and set our glassesPlane object as the geometry parameter.
Also, we need to add the glasses node to the face node:
When you run the app, you can now see a red plane behind the face mask. It’s time to put on glasses! Add a .png image of glasses to the project’s assets folder. Change the material contents from color to image:
To display the glasses correctly, we need to make some changes to the size and position:
The last thing we need to do is hide the face mask geometry:
We’ll use some constants for size and position parameters:
Now our glasses look real!
Summing up
We tried to make this ARKit tutorial simple for both beginners and experienced developers. In our source code, we also added an option to choose the glasses you want, position them, and calibrate their size.
If our tutorial was helpful for you and you’d like to get more articles like this, subscribe to our blog! Feel free to start a conversation below if you have any questions.


